|
How To Use Trail Cameras for the Best Hunting Opportunities
July 05, 2025
How To Use Trail Cameras for the Best Hunting Opportunities
The world of hunting is rich with tradition and innovation. One of the best new tools for hunters is the trail camera. These devices, also known as wildlife cameras or outdoor cameras, have revolutionized the way hunters track and study their prey. Whether you're a seasoned hunter or a novice looking to improve your skills, learning how to effectively use trail cameras can provide you with the best hunting opportunities.
Trail cameras are designed to capture images and videos of wildlife without human intervention. They are typically placed in strategic locations where they can record the movements of animals in their natural habitat. This allows hunters to gather valuable information about animal behaviors, patterns, and frequented areas.
Trail cameras are equipped with motion sensors that trigger the camera to take photos or videos when movement is detected. This feature is crucial for capturing wildlife activities without human presence. The cameras can be set to operate during specific times of the day or night, increasing their versatility and usefulness in different environments.
Modern trail cameras come with a variety of features that enhance their functionality. Some models offer high-definition video recording, while others come with time-lapse capabilities that allow hunters to review extended periods in a condensed format. Many cameras also feature weatherproof designs, ensuring they can withstand harsh outdoor conditions, from rain to snow.
The use of trail cameras offers several advantages for hunters. They provide non-invasive monitoring, allowing you to observe wildlife without disturbing their natural behaviors. This leads to more accurate tracking of movement patterns, which is essential for planning successful hunts. Additionally, trail cameras can cover multiple locations simultaneously, maximizing the amount of data collected without requiring physical presence.
There are several types of trail cameras available on the market, each with its own features and benefits. Choosing the right one depends on your specific needs and budget.
Standard Trail Cameras
Standard trail cameras are the most basic models available. They are relatively affordable and are a great option for beginners. These cameras capture photos and videos and typically store data on a memory card that you need to retrieve manually. They are simple to set up and use, making them a popular choice for those new to hunting technology.
Cellular Trail Cameras
Cellular trail cameras are among the most advanced options available. They send images and videos directly to your phone or computer via a cellular network. This real-time data transmission is particularly useful for monitoring wildlife activity without disturbing the area. The convenience of accessing data remotely makes cellular trail cameras a favorite among tech-savvy hunters.
Wireless Trail Cameras
Wireless trail cameras function similarly to cellular cameras but rely on Wi-Fi for data transmission. They require a nearby network to connect, which can limit their placement in more remote areas. Despite this limitation, they offer the benefit of easy data transfer without the need to physically retrieve the memory card, making them a good choice for areas with reliable Wi-Fi coverage.
Infrared Trail Cameras
Infrared trail cameras are specifically designed for low-light conditions. They use infrared technology to capture images at night without startling the animals. This feature makes them ideal for nocturnal wildlife monitoring. Infrared cameras are essential for hunters interested in studying behaviors that occur primarily during nighttime hours.
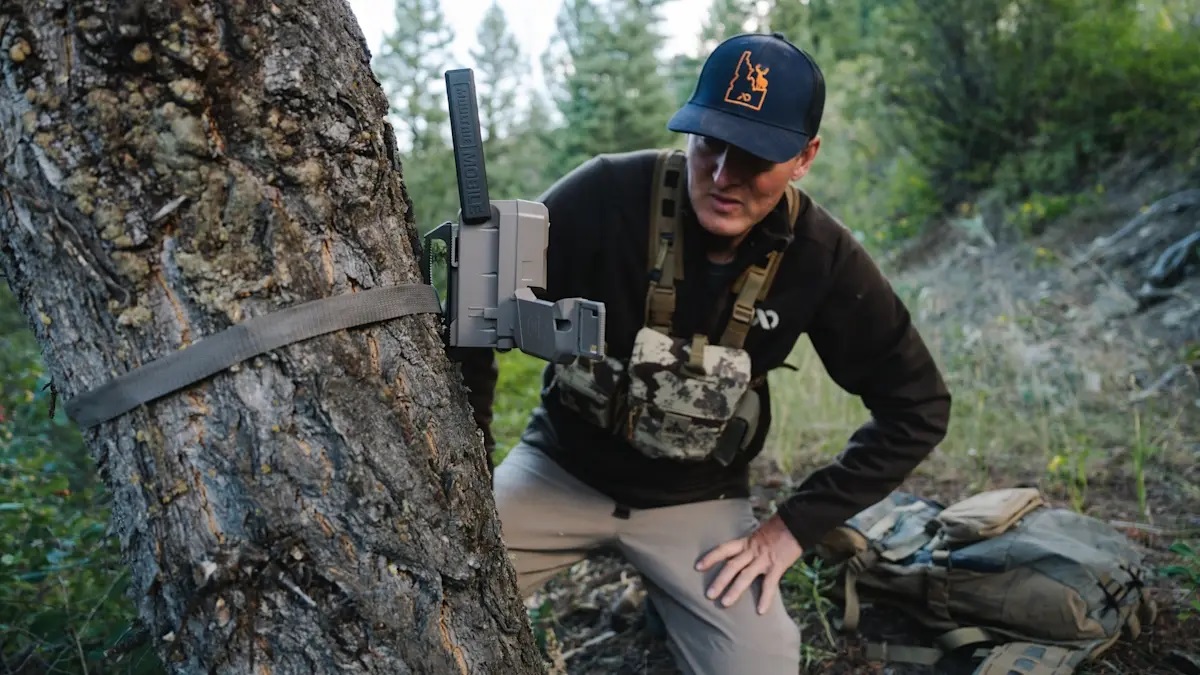
Setting Up Your Trail Camera
Proper setup is crucial for maximizing the effectiveness of your trail cameras. Here are some steps to help you get the best results:
Choose the Right Location
Selecting the right spot is key to capturing valuable footage. Look for areas where animals are likely to pass through, such as game trails, water sources, or feeding grounds. The goal is to position your camera where it can capture clear images of wildlife activity. Consider the natural paths animals take to ensure your camera is in a prime locati0n.
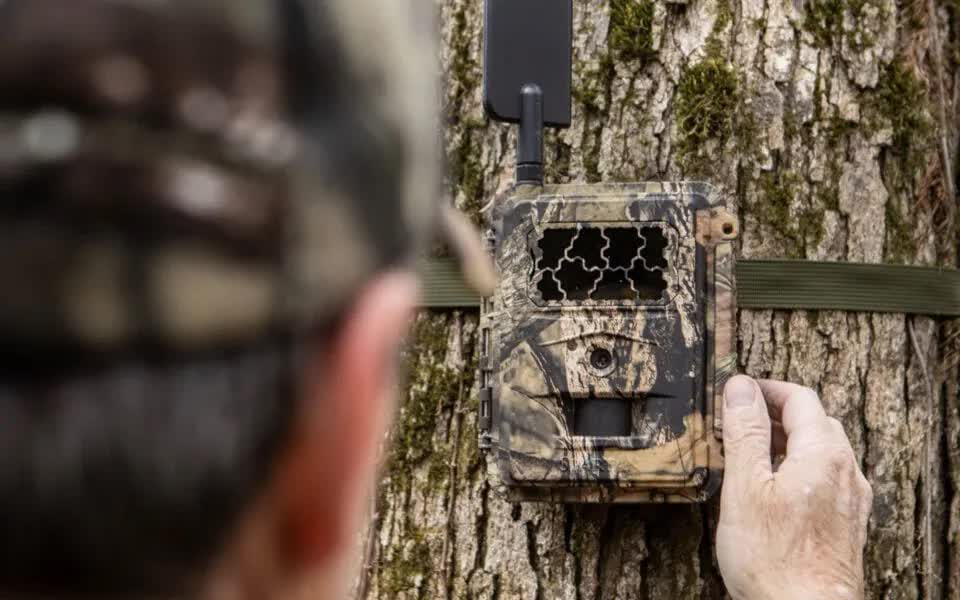
Positioning the Camera
Mount the camera at a height that corresponds to the size of the animals you're targeting. For deer, this is usually about 3 to 4 feet off the ground. Ensure the camera is angled slightly downwards to capture the best field of view. Avoid facing the camera directly into the sun, as this can cause overexposed images and reduce visibility.
Test the Camera
Before leaving your camera in the field, take a few test shots to ensure it's capturing the right area and that the settings are correct. This can save you time and frustration later. Check the camera's angle, focus, and trigger speed to ensure optimal performance. Testing also helps verify that the camera's battery and memory card are functioning correctly.
Secure the Camera
Use a locking mechanism or camouflage to secure your camera against theft and damage. Some hunters use a steel case or cable lock to protect their investment. Camouflaging your camera with natural materials or commercially available covers can also prevent animals from noticing and damaging it. Security is crucial to ensure the longevity and efficacy of your trail camera setup.
Utilizing Trail Camera Data
Once your camera is set up and capturing data, the next step is to analyze the images and videos to enhance your hunting strategy.
Pattern Recognition
Review the footage regularly to identify patterns in animal movement. This will help you understand when and where animals are most active, allowing you to plan your hunts more effectively. Recognizing daily or seasonal movement patterns can reveal the best times and locations for setting up your stands or blinds. Consistent review of data ensures you stay updated on any changes in wildlife behavior.
Identifying Animal Behavior
Trail cameras can provide insights into animal behavior, such as feeding habits, social interactions, and territorial movements. Understanding these behaviors can give you a significant advantage in predicting animal actions. Observing interactions between different species can also help identify potential competitors or predators in the area, allowing you to adjust your hunting strategy accordingly.
Adjusting Your Strategy
Use the data collected to adjust your hunting strategy. If you notice a particular area is more active than others, consider setting up a stand or blind nearby. If certain times of day yield more activity, plan your hunts accordingly. Flexibility in your approach based on the insights gained from trail camera data is key to increasing your chances of a successful hunt. Continual adaptation to the information gathered ensures you remain effective and efficient in the field.
Choosing the Best Trail Camera for Your Needs
When selecting the best trail cameras for hunting, consider the following factors:
Image Quality
Higher resolution cameras will provide clearer images, which can be crucial for identifying specific animals or behaviors. Clearer images allow for more detailed analysis and can be particularly beneficial when identifying unique markings or assessing the health of animals. Investing in a camera with superior image quality enhances the overall value of your data collection efforts.
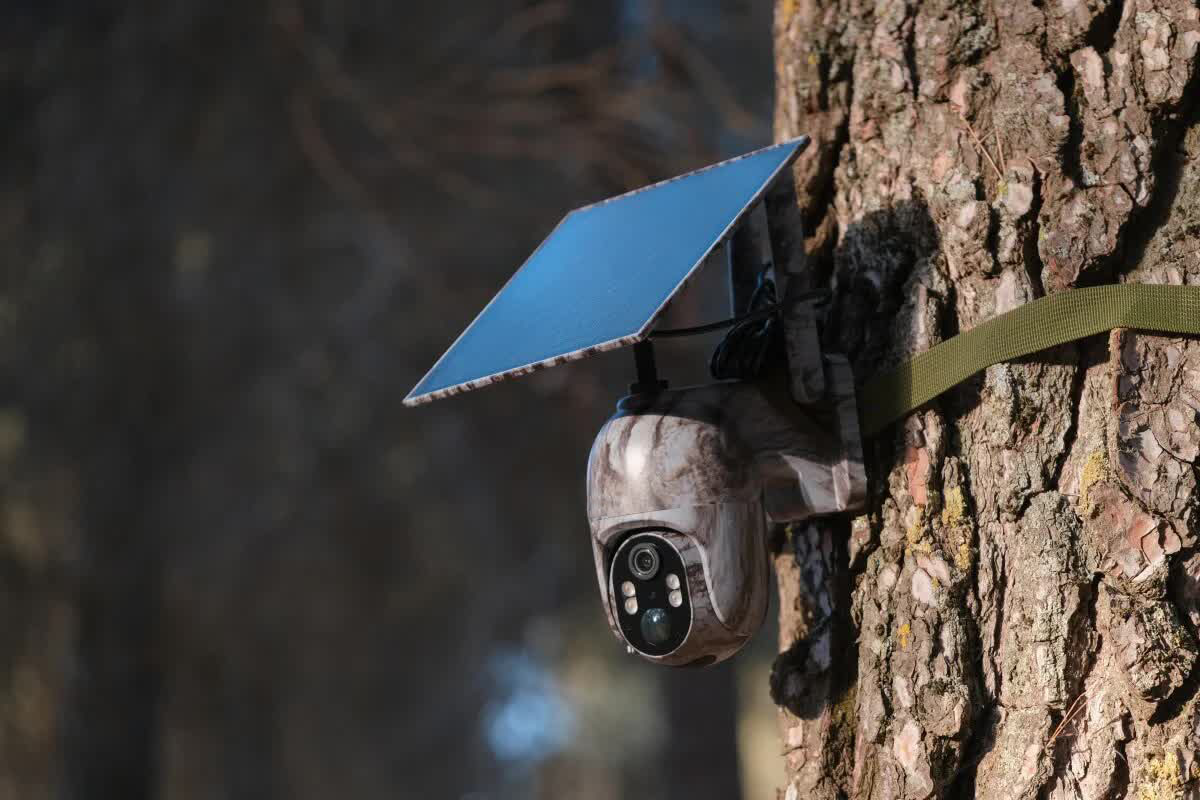
Battery Life
Look for cameras with long battery life, especially if you plan to leave them in remote locations for extended periods. Long-lasting batteries reduce the frequency of maintenance visits, minimizing disturbances to the area and maximizing the camera's uptime. Consider using solar-powered options or external battery packs for additional longevity in the field.
Trigger Speed
A fast trigger speed ensures that the camera captures images as soon as motion is detected, reducing the chance of missing fast-moving animals. This feature is essential for capturing fleeting moments of wildlife activity, particularly for species that move quickly through their environment. Quick trigger speeds enhance the overall effectiveness of your data collection.
Storage Capacity
Ensure the camera has sufficient storage to hold all the images and videos you expect to capture. Some models allow for expandable memory cards. Ample storage capacity prevents data loss due to full memory and allows for continuous operation without the need for frequent card swaps. This is particularly useful for cameras placed in hard-to-reach or remote locations.
Weather Resistance
Choose a camera that can withstand the elements, especially if you're placing it in a harsh outdoor environment. Weather-resistant models are designed to operate in varying conditions, from extreme heat to freezing temperatures. Durability ensures the camera remains functional and continues to collect valuable data regardless of environmental challenges.
Conclusion
Trail cameras are an invaluable tool for modern hunters, providing insights and data that can dramatically improve your hunting success. By understanding how to set up and utilize these cameras effectively, you can make more informed decisions and increase your chances of a successful hunt. Whether you're using cellular trail cameras for real-time updates or infrared models for night-time surveillance, the right trail camera can make all the difference in your hunting experience.
Embrace the technology, refine your strategies, and enjoy the thrill of the hunt with greater success. The integration of trail cameras into your hunting toolkit not only enhances your understanding of wildlife but also enriches your overall hunting experience. With the right approach and equipment, you can look forward to more rewarding and productive hunts.
Recent Posts
-
How To Use Trail Cameras for the Best Hunting Opportunities
July 5, 2025
-
Solar Panel Failing to Charge Cellular Camera Battery: Causes & Fixes
 March 31, 2025
 -
PoE vs. PoE+ vs. PoE++: The Key Differences
 March 28, 2025
 -
Can a Trail Camera Be Used for Security?
 March 22, 2025
 -
Key Factors to Keep in Mind When Selecting a Solar Trail Camera
 March 18, 2025